


Overview #
You can change the payment method used to renew your subscription. In the following steps, we will show you how to add or update the card attached to your subscription. There is also an option to use your Paypal account instead.
Note: If you need to change items on your subscription, i.e add or remove users, please follow the steps here.
Using a credit or debit card #
- Go to https://myquickcloud.com/login/ and log in to your account using your credentials
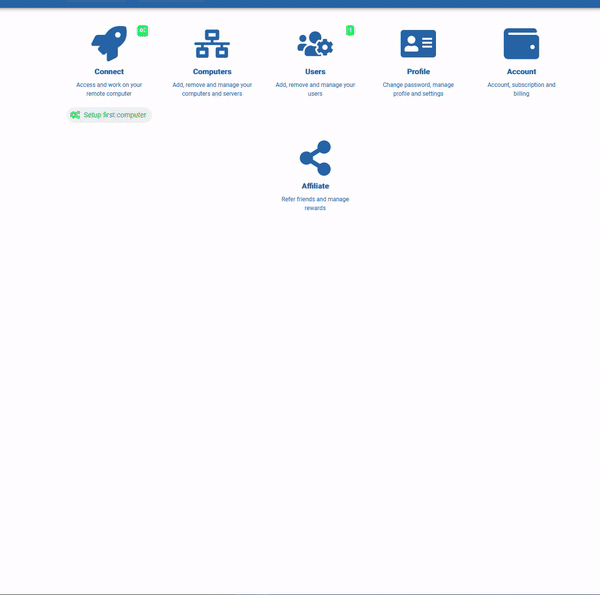
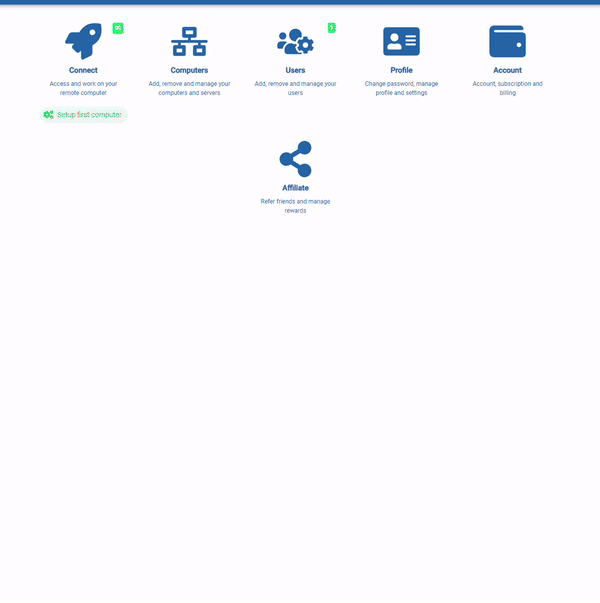
- Click on Account
- Click on Billing and Payment Information
- Click Update
- Click on Card (if you want to use PayPal instead, go to the steps here)
- Enter or update the card details
- Enter or update the Billing Address Information details
- Click on Continue
- Your bank might require an additional step to very the payment – this usually is a code that you receive on your phone or a confirmation within a third-party application – please follow these steps to continue
- Once the payment method is validated and updated, a confirmation message will appear
Using Paypal #
- Go to https://myquickcloud.com/login/ and log in to your account using your credentials
- Click on Account
- Click on Billing and Payment Information
- Click Update
- Click on Paypal (if you want to use a card instead, go to the steps here)
- Click on Paypal Checkout

- A dedicated window will appear asking for your Paypal information (this window is managed directly by Paypal and we do not have access to your information)
- Enter your Paypal account information (email or mobile phone number)
- Click on Next and enter your Paypal password
- Click on Next – To proceed further, read and accept the Paypal terms and conditions
- Click on Agree & Continue
- Paypal will display the account, details and funding sources available on your Paypal account – at this stage, you can modify the ones you wish to use
- Once ready, click on Save and Continue
- Important: there is one final step to confirm the process – the Paypal window will now close and you are back on our website – please click on Continue
- If all is authorized, a confirmation message will appear
Get Stuck? #
Contact our Clients Service Team and they will be happy to help.