MyQuickCloud
  • Product
    • Features
    • How it works
  • Solutions
    • QuickBooks
    • Bring your own device
    • Work across multiple locations
    • Your business IT network
  • Pricing
  • Support
    • Support Center
    • Downloads
    • Contact us
Login Get started

Support

Popular Search how toquickbookslogin issuesuserupdate

Technical

14
  • Issues connecting to MyQuickCloud following an upgrade to Windows 11
  • Date Format and Currency Settings Are Incorrect
  • Cloud Server Security
  • Vedivi Service Level Agreement for Cloud Servers
  • MyQuickCloud Installer on Mac Is Damaged or Can’t Be Opened
  • Networked Drives in MyQuickCloud
  • Computer is Offline
  • Self Hosting Security Guide
  • Add MyQuickCloud to Your Firewall Rules
  • Common Windows Folder and File Permissions
  • User Profile Cannot Be Loaded Error
  • Your Application Is Frozen or Wont Start
  • The Application You Want to Publish Is Not Listed
  • Network Level Authentication Is Turned On

How To

25
  • How To – Give access to users to your server
  • How To – Add, Remove and Manage Users
  • How to update your payment method
  • How to update your subscription
  • How to Cancel Your MyQuickCloud Subscription
  • How To Change or Reinstall a Computer
  • How To Join, Restart or Logout an Existing MyQuickCloud Session
  • How to Restart Your Computer or Server Remotely
  • How to Enable Multi-Factor Authentication In MyQuickCloud
  • How to Add a New Computer
  • How To Transfer Files In The MyQuickCloud WebApp
  • How To Print With MyQuickCloud
  • Types of Access to Your Computers – MyQuickCloud
  • Connect to MyQuickCloud Using an Android Device
  • How to Change The MyQuickCloud Desktop Application Settings
  • How To Delete A User and Remove From Subscription
  • How To Reset Your Password in MyQuickCloud
  • How To Share Files and Folders – MyQuickCloud
  • Connect to MyQuickCloud Using an iOS Device
  • Copy Files from Mac to Remote Computer
  • How To Use Spaces in MyQuickCloud
  • How To Setup Your Subscription With MyQuickCloud
  • Add Users To Your MyQuickCloud Account
  • How To View And Download Statements
  • How To Re-activate a MyQuickCloud Account

Videos / Webinars

3
  • What’s the difference between on-premise and managed cloud
  • Getting Started with MyQuickCloud
  • What is MyQuickCloud?

QuickBooks

8
  • How to Setup the QuickBooks Database Manager
  • Update QuickBooks Payroll on a Managed Cloud Server
  • QuickBooks Requires Reboot to Complete Installation
  • QuickBooks Cannot Communicate With The Company File
  • QuickBooks Company File Is Not Updating
  • QuickBooks No Company Open Issue
  • QuickBooks is Unable to Print
  • QuickBooks Freeze When Exporting Reports
  • Home
  • Support
  • Knowledge Base
  • How To
  • Connect to MyQuickCloud Using an Android Device

Connect to MyQuickCloud Using an Android Device

Using MyQuickCloud on an Android Phone or Tablet #

MyQuickCloud lets you remotely access any Windows computer from your phone or tablet device. In this article learn how to connect using an android device.

Please Note: Only MyDesktop and MyWorkspace are supported on mobile devices and not MyApplication.

Step 1 #

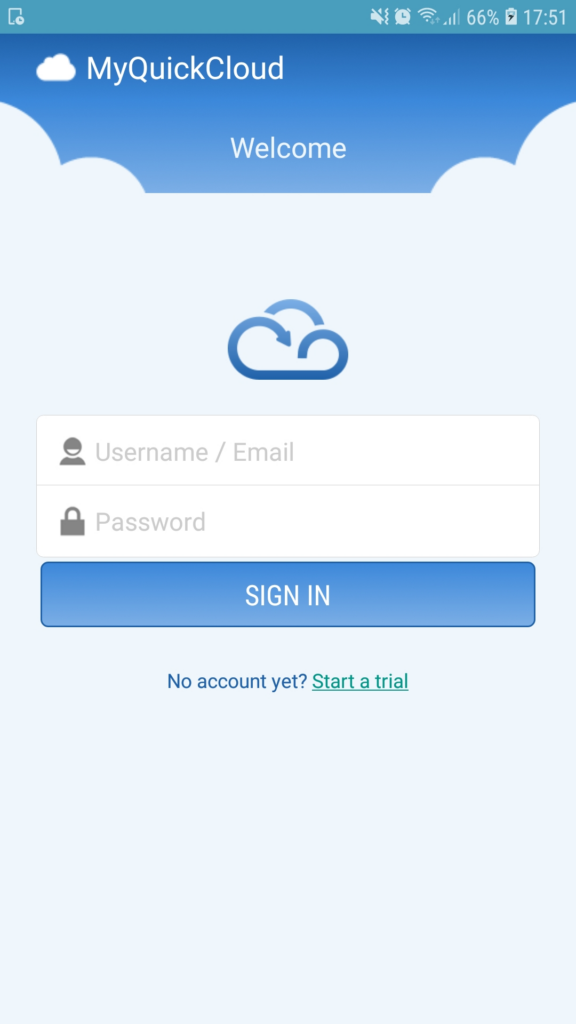
  • Open the MyQuickCloud Android app. Enter your MyQuickCloud username and password then tap Login.

Step 2 #

Tap on the host that you want to connect to (the PC with the application(s) you want to use) via the MyDesktop (formally Virtual Desktop) or MyWorkspace links.

Please note: The MyQuickCloud Android app requires Microsoft Remote Desktop Client for Android. If it is installed already, it will prompt you to load it when you try to connect. However, if it is not installed, you will be directed to the Play Store to download it.

If you selected MyWorkspace, you should now see your MyWorkspace desktop in which you can use your applications.

Step 3 #

If you selected MyDesktop, you will be presented with the logon panel. Enter your username and password and click the blue login arrow.

Please note: You need to press the keyboard button to bring up your keypad. The mouse is automatically set to click and drag rather than touch, this can be changed in the menu.

You should now see your host PC’s desktop in which you can use your applications.

Updated on March 29, 2022
How to Change The MyQuickCloud Desktop Application Settings
Table of Contents
  • Using MyQuickCloud on an Android Phone or Tablet
    • Step 1
    • Step 2
    • Step 3
MyQuickCloud Logo
Empower remote workers

Make anywhere your office

  • Terms and Conditions
  • Cookies policy
  • Privacy policy
App Store Google Play

About

  • About Us
  • Support
  • Press
  • Blog
  • Contact us

Product

  • Features
  • How it works
  • Downloads
  • Partners

Support

  • Support Center
  • Knowledgebase
  • Documentation
  • How To

Copyright © 2023 Vedivi Limited.

Vedivi Limited, First floor, 85 Great Portland street, London W1W 7LT. Registered in England No 4162220

MyQuickCloud is not associated with, or sponsored by Intuit or Microsoft