MyQuickCloud
  • Product
    • Features
    • How it works
  • Solutions
    • QuickBooks
    • Bring your own device
    • Work across multiple locations
    • Your business IT network
  • Pricing
  • Support
    • Support Center
    • Downloads
    • Contact us
Login Get started

Support

Popular Search how tologin issuesquickbooksuserupdate

Archive

  • How to Change the Host Computer
  • How do I update my internet browser?
  • Which host do I choose in the MyQuickCloud setup?
  • Security Update – Jan 2018
  • MyQuickCloud 3.2 – What’s New
  • After Auto-Update – MyQuickCloud Prompts to Be Configured
  • What Is Our Refund Policy?
  • Remote Desktop Can’t Connect to the Remote Computer for One of These Three Reasons Error
  • How To – Reinstall Your Host
  • System Requirements
  • Login Failed – Unable to Connect to the Internet Error Message
  • Launch Fail Unknown Error – MyApplication Won’t Open on My iOS Device
  • Support – Overview
  • Do I Choose MyWorkspace, MyDesktop or MyApplication?
  • How To – Publish an App
  • How To – Change the Host Computer
  • How To – Add, Remove and Manage Users
  • How To – Print with MyQuickCloud
  • How to login to my host computer with an existing Windows account
  • Testing your local Internet connection
  • Managing Your Existing Apps / Desktops
  • Common Printing Issues
  • How To – Manage a Host
  • How To – Use a MyWorkspace, MyDesktop or MyApplication
  • How To – Add a Host

Technical

  • Date Format and Currency Settings Are Incorrect
  • Cloud Server Security
  • QuickBooks Requires Reboot to Complete Installation
  • Vedivi Service Level Agreement for Cloud Servers
  • MyQuickCloud Installer on Mac Is Damaged or Can’t Be Opened
  • Networked Drives in MyQuickCloud
  • QuickBooks Cannot Communicate With The Company File
  • Computer is Offline
  • QuickBooks Company File Is Not Updating
  • QuickBooks No Company Open Issue
  • QuickBooks is Unable to Print
  • QuickBooks Freeze When Exporting Reports
  • Self Hosting Security Guide
  • Add MyQuickCloud to Your Firewall Rules
  • Common Windows Folder and File Permissions
  • User Profile Cannot Be Loaded Error
  • Your Application Is Frozen or Wont Start
  • The Application You Want to Publish Is Not Listed
  • Network Level Authentication Is Turned On

How To

  • How to Enable Multi-Factor Authentication In MyQuickCloud
  • How to Add a New Computer
  • How To Transfer Files In The MyQuickCloud WebApp
  • How To Change or Reinstall a Computer
  • How To Print With MyQuickCloud
  • Types of Access to Your Computers – MyQuickCloud
  • Connect to MyQuickCloud Using an Android Device
  • How To Join, Restart or Logout an Existing MyQuickCloud Session
  • How to Change The MyQuickCloud Desktop Application Settings
  • How To Delete A User and Remove From Subscription
  • How To Reset Your Password in MyQuickCloud
  • How To Share Files and Folders – MyQuickCloud
  • Connect to MyQuickCloud Using an iOS Device
  • Copy Files from Mac to Remote Computer
  • How To Use Spaces in MyQuickCloud
  • How To Setup Your Subscription With MyQuickCloud
  • Add Users To Your MyQuickCloud Account
  • Cancel Your MyQuickCloud Subscription
  • How To View And Download Statements
  • How to Update your Subscription and Payment Method
  • How To Re-activate a MyQuickCloud Account

Videos / Webinars

  • What’s the difference between on-premise and managed cloud
  • Getting Started with MyQuickCloud
  • What is MyQuickCloud?
  • Home
  • Support
  • Knowledge Base
  • Archive
  • How To – Add a Host

How To – Add a Host

Table of Contents
  • Adding a Host Using the MyQuickCloud Desktop App
    • Step 1
    • Step 2
    • Step 3
  • Adding a Host Using the MyQuickCloud Web App
    • Step 1
    • Step 2
    • Step 3
    • Step 4
      • Step 4
      • Step 5
      • Step 6
      • Step 7
  • Still Stuck?

This article relates to an older version of MyQuickCloud and is no longer valid. Please go to our How-To section to view the latest articles here – https://myquickcloud.com/kb/how-to/

The Host is the computer with the programs on it that you want to access remotely. The MyQuickCloud administrator (admin user) can add Host computers to your cloud.

Adding a Host Using the MyQuickCloud Desktop App #

Click here for Web App instructions.

Step 1 #

Download MyQuickCloud from the MyQuickCloud Downloads page:
https://myquickcloud.com/downloads/

Step 2 #

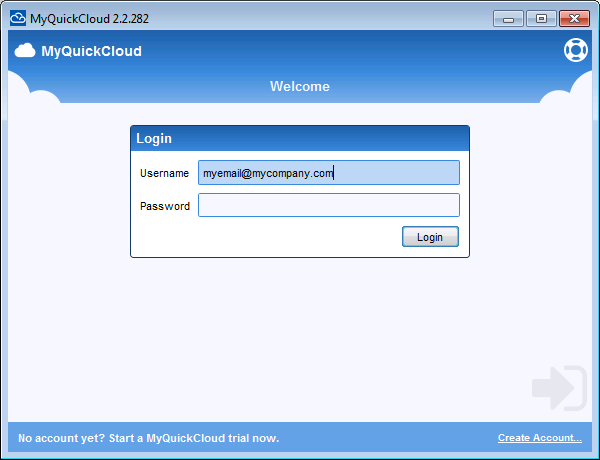
Run the download to install MyQuickCloud, and after the first use configuration, sign into MyQuickCloud using admin credentials.

Step 3 #

Click on the Manage tab  on the left to open up the admin options.

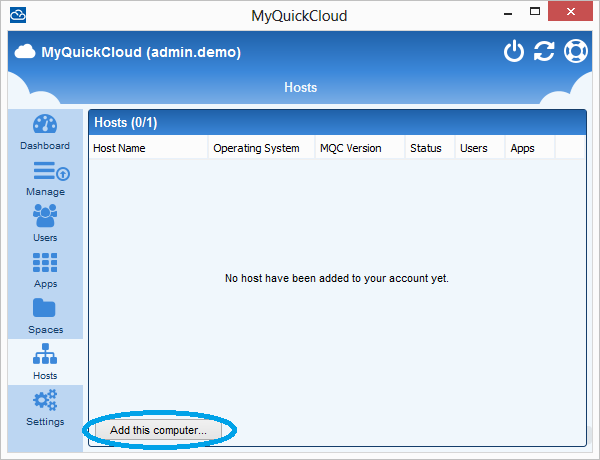
Then select the Hosts tab option.

On the host tab, click on Add this computer button


Step 4

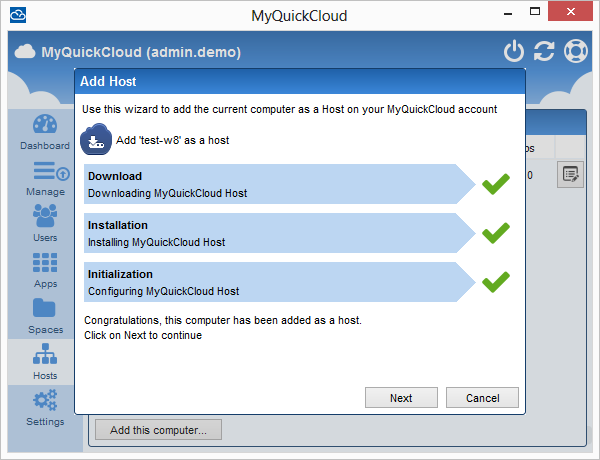
Click Next in the wizard and the computer will be set up as a host (might take a minute or two).

Please Note: To setup a host you will need Administrator privileges on the host computer.

Now that the computer is added as a host, you can start publishing applications from MyQuickCloud.

Please Note: Configuration of the newly added host can be done from any MyQuickCloud (you don’t have to be on the host computer to publish apps).

Adding a Host Using the MyQuickCloud Web App #

Step 1 #

Log in to your MyQuickCloud account as an admin user here: https://myquickcloud.com/login/

Step 2 #

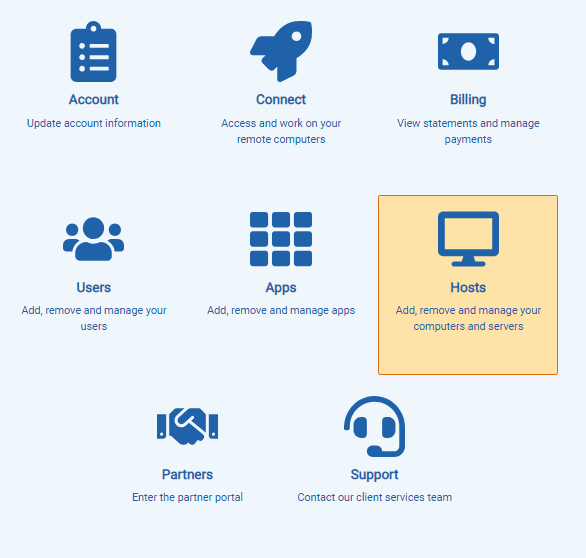
Select the Hosts icon from the dashboard.

Step 3 #

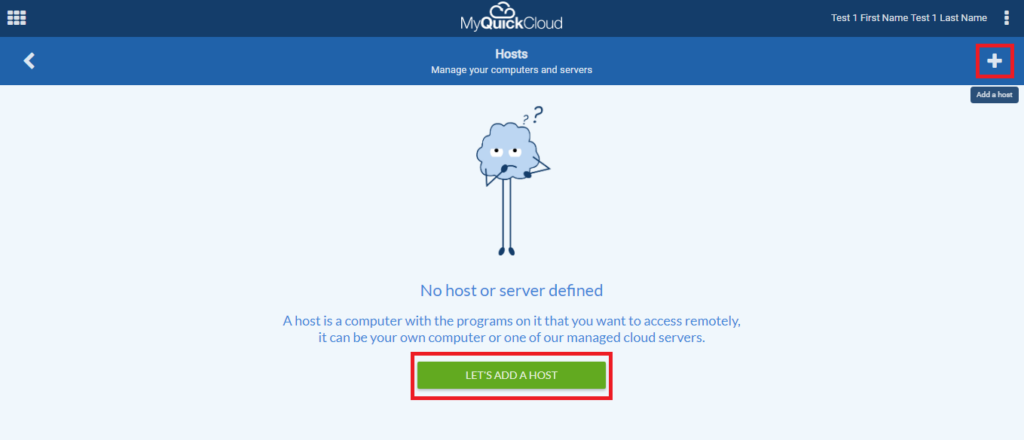
If you don’t have any computers setup as a host already you should see this screen below. Click the Let’s Add a Host button to continue.

If you already have a host computers setup, you should see them listed here. Simply click the + icon (Add a host) to add the new host.

Step 4 #

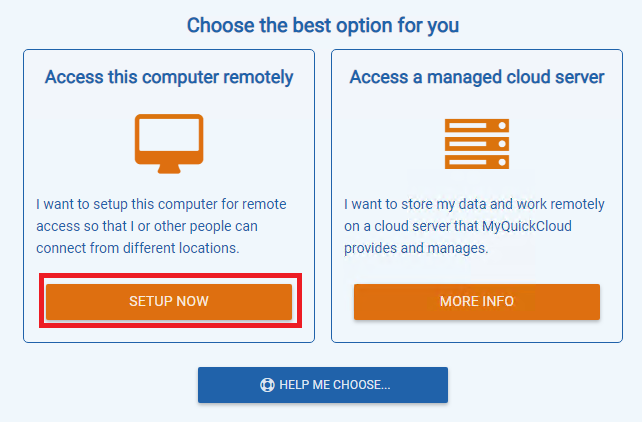
Select Setup Now under Access this computer remotely, to add the computer you’re on now as a host. This will start the server download and installation process.

Step 4 #

The MyQuickCloud Host installer will begin downloading automatically, when the download is complete, open the installer to continue the setup.

Note: the example above is a screenshot of Google Chrome, your browser may look different. If you’re having trouble finding the download, Ctrl+J is a common shortcut to show your download history in most browsers.

Step 5 #

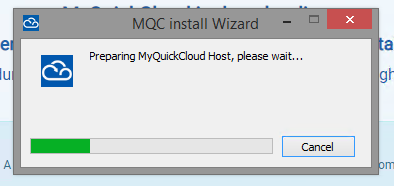
Once you’ve run the MQC Server setup, it will begin automatically installing the Host software required.

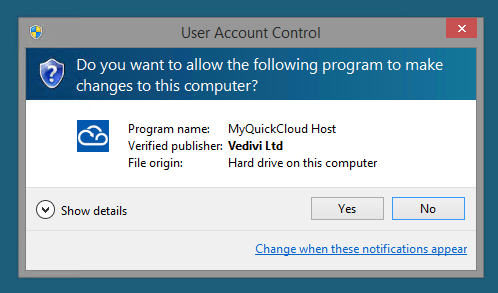
You may be prompted by Windows to allow the installation to continue, click Yes to carry on with the setup.

Step 6 #

When the Installation has completed successfully you should see this screen on your MQC account:

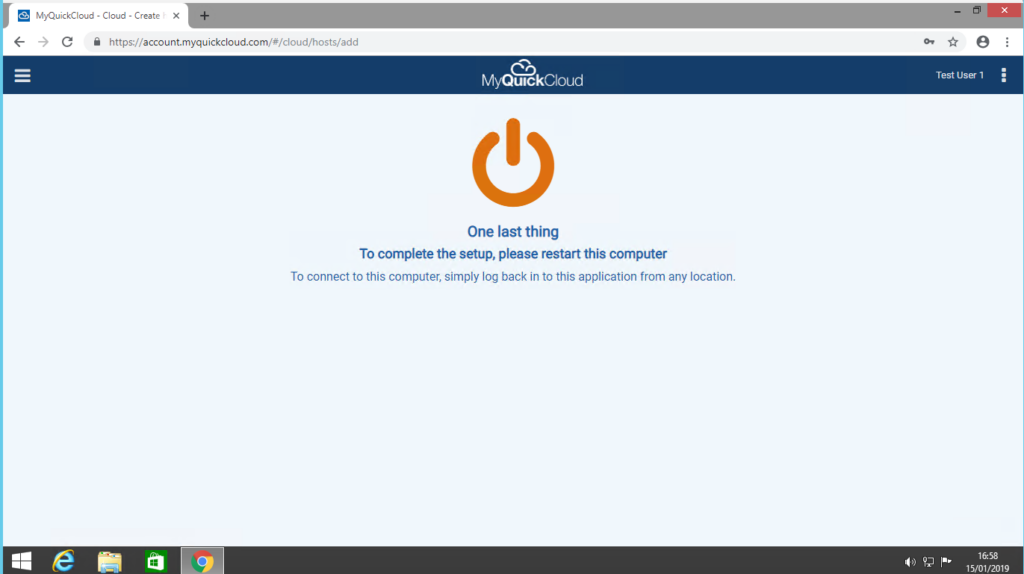
Restart your computer to finish the installation process.

Step 7 #

After your computer has restarted, log back in to your MyQuickCloud account as an admin user here: https://myquickcloud.com/login/

Now that the computer is added as a host, you can start publishing applications from MyQuickCloud.

Please Note: Configuration of the newly added host can be done from any MyQuickCloud (you don’t have to be on the host computer to publish apps).

Still Stuck? #

You can go through the steps to manually add the host or you can contact us and our techs can remote on and investigate.

What are your Feelings
Share This Article :
  • Facebook
  • Twitter
  • LinkedIn
  • Pinterest
Updated on March 30, 2022
How To – Use a MyWorkspace, MyDesktop or MyApplication
Table of Contents
  • Adding a Host Using the MyQuickCloud Desktop App
    • Step 1
    • Step 2
    • Step 3
  • Adding a Host Using the MyQuickCloud Web App
    • Step 1
    • Step 2
    • Step 3
    • Step 4
      • Step 4
      • Step 5
      • Step 6
      • Step 7
  • Still Stuck?
MyQuickCloud Logo
Empower remote workers

Make anywhere your office

  • Terms and Conditions
  • Cookies policy
  • Privacy policy
App Store Google Play

About

  • About Us
  • Support
  • Press
  • Blog
  • Contact us

Product

  • Features
  • How it works
  • Downloads
  • Partners

Support

  • Support Center
  • Knowledgebase
  • Documentation
  • How To

Copyright © 2023 Vedivi Limited.

Vedivi Limited, First floor, 85 Great Portland street, London W1W 7LT. Registered in England No 4162220

MyQuickCloud is not associated with, or sponsored by Intuit or Microsoft