About this guide
This guide is aimed at getting new users started with MyQuickCloud through our online setup. You don’t need to be technical, just follow the steps to start working remotely.
Once you have completed these steps you can view our other guides including how to set up your subscription and how to get started with QuickBooks.
In this guide we’re going to go through the following steps:
- Creating your account
- Setup your computer
- Add MyWorkspace to your user
Create Your Account
Creating your account is easy, simply click the button to open the signup page in a new tab and fill out all of the details.
Set up your computer
The computer you want to setup here is the computer with the programs on it that you want to access remotely. In other words it’s the computer you want to connect to, not the one you connect from. If you aren’t on that computer now, you can close your browser, move to that PC and log in from our website to carry on where you left off.
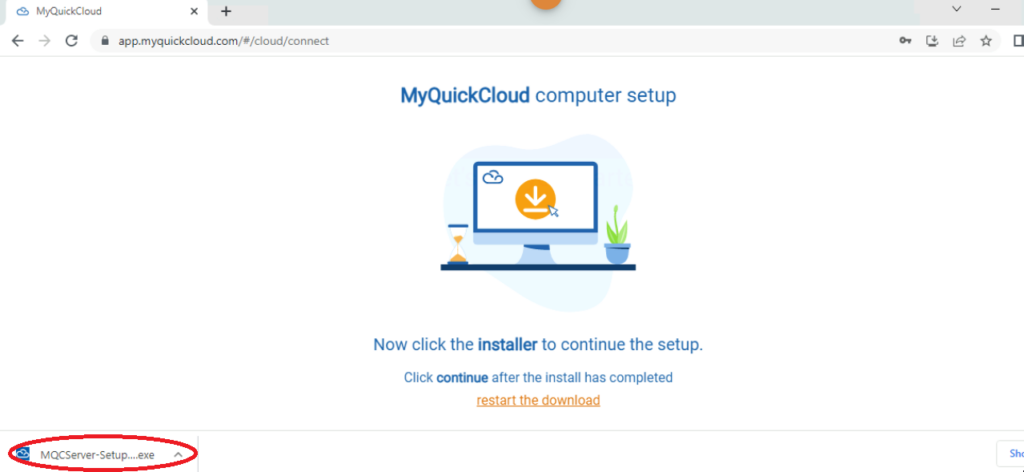
Click Connect in the main menu and then follow the on-screen instructions to download and install the MyQuickCloud Host installer.

Add a MyWorkspace connection for your user
Click to configure user access, click your user and then choose to toggle MyWorkspace. This lets you access your computer by logging in as your MyQuickCloud user, preventing any disruption to existing users.
You can learn more about different MyQuickCloud connection types in our support center.
Watch the steps in a video
More guides
Planning on using QuickBooks with MyQuickCloud? Check out our getting started with QuickBooks and MyQuickCloud guide
Do you want to connect to an existing user profile on your host computer? Take a look at our guide on the different connection types


