


This guide will show you how to add your existing email account to QuickBooks, allowing it to send emails such as invoices directly from your account.
Adding your e-mail address to QuickBooks #
- Open QuickBooks and sign in to your company file
- Click Edit from the top menu, then click Preferences
- Scroll down and click on Send Forms, then click Add to add your e-mail address
- Enter your e-mail address then select your e-mail provider (e.g Outlook/Office 365, Gmail etc.) then click OK.
For Outlook, make sure Use Enhanced Security is selected
You may now get a login window pop-up from Intuit, this is to sign in to your Intuit account. Enter your Intuit sign in details and click Sign In to continue.
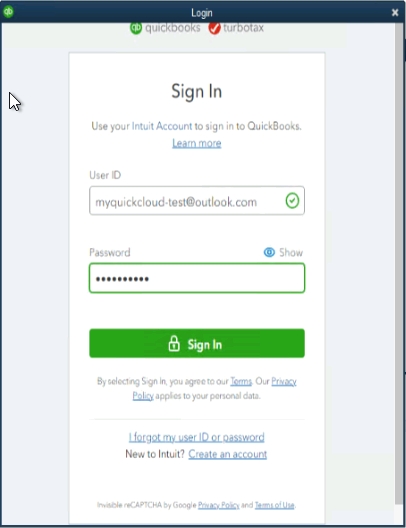
you can create a new account if you don’t already have one – it doesn’t need to be the same as the owners’ QuickBooks license account. If this sign in doesn’t pop-up, you can skip ahead to the next step.
A message should pop-up requesting you authorize your permission for QuickBooks to use your e-mail address to send e-mails. Click continue here to be redirected to your e-mail provider.
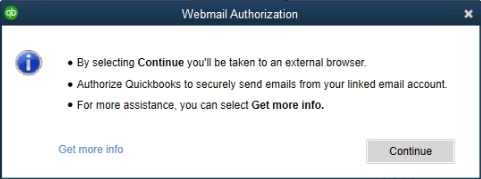
From here, continue to authorize QuickBooks permissions for your respective e-mail provider. Please follow the Outlook (including Office 365), or Gmail instructions below.
Outlook Authorization #
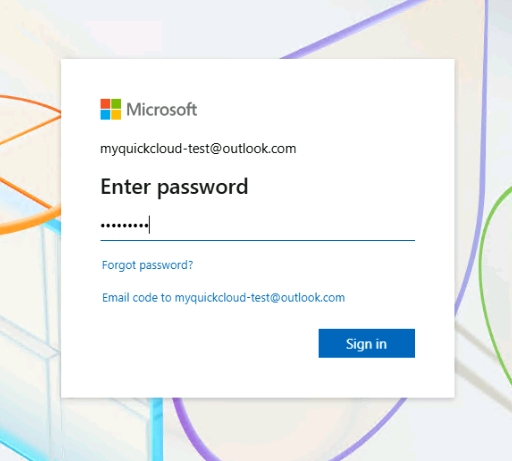
You should now be redirected to your e-mail sign in page. Sign in to your e-mail account as you normally would.
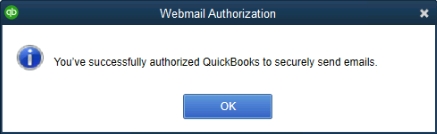
Once authorized you should see the below message confirming you’re now able to send e-mails. Click OK to continue.
You should now be able to send e-mails through QuickBooks using your Outlook / Office 365 e-mail address.
Gmail Authorization #
You should now be redirected to your e-mail sign in page. Sign in to your e-mail account as you normally would.

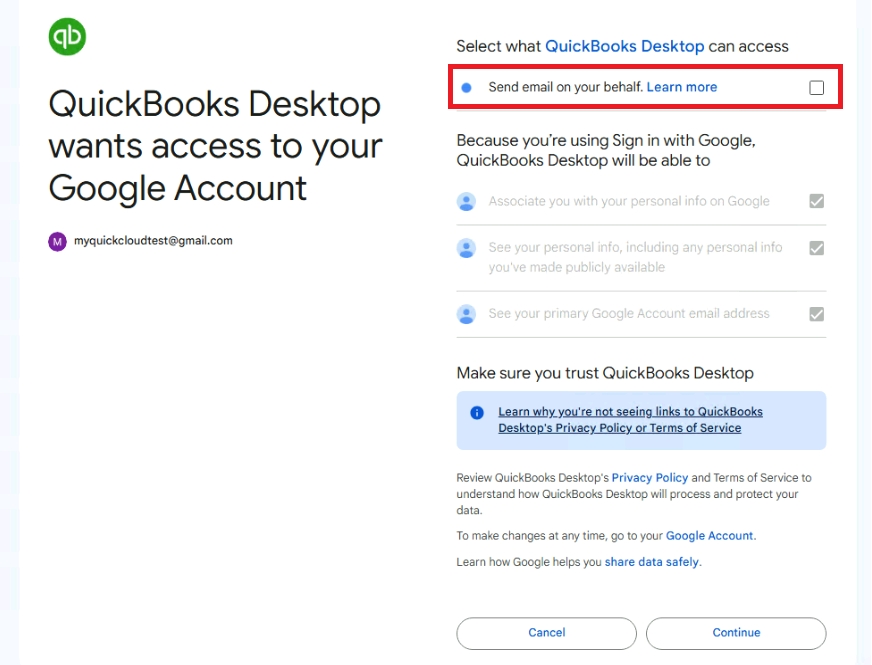
Once you’ve signed in you’ll be asked to authorize QuickBooks to use your Gmail e-mail address. Make sure you check the box that says Send email on your behalf, then click Continue.
Once authorized you should see the below message confirming you’re now able to send e-mails. Click OK to continue.
You should now be able to send e-mails through QuickBooks using your Gmail e-mail address.